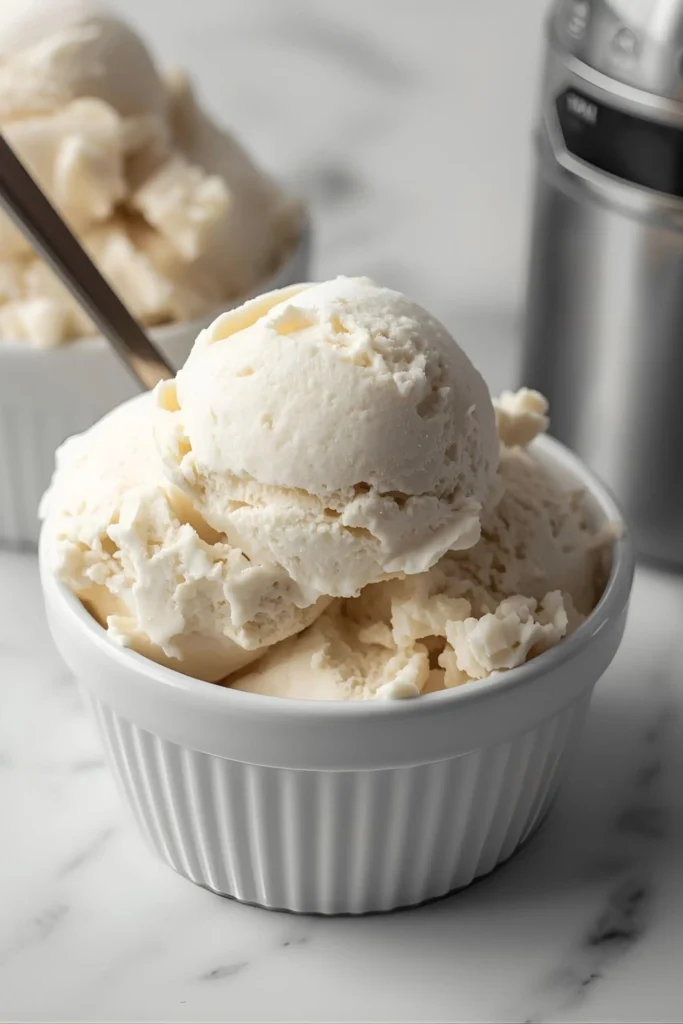
Vanilla bean ice cream is a classic dessert that never goes out of style. With its smooth, creamy texture and rich flavor, it is one of the most popular frozen treats worldwide. What makes this recipe special is the use of real vanilla bean, which provides a deep and aromatic taste that cannot be matched by artificial flavoring. Whether enjoyed on its own or paired with pies, cakes, or fresh fruit, homemade vanilla bean ice cream is a versatile dessert that elevates any occasion.
Making it from scratch allows you to control the ingredients, ensuring a fresh and natural taste without unnecessary additives. This recipe uses a custard base made with egg yolks, sugar, cream, and milk, creating a perfectly balanced richness. If you’ve been searching for a reliable recipe for authentic vanilla bean ice cream, this step-by-step guide will give you everything you need to prepare it successfully in your own kitchen.
Why You’ll Love This Recipe
There are many reasons why this vanilla bean ice cream recipe will quickly become a favorite in your home kitchen:
- Authentic flavor: Made with real vanilla bean, the flavor is naturally aromatic and smooth. For convenience, you can also use pure vanilla extract.
- Creamy texture: The custard base provides a silky consistency that feels rich and satisfying.
- Simple ingredients: You only need basic items such as milk, cream, sugar, and eggs, making this recipe easy to prepare with what you already have at home.
- Customizable: You can keep it classic or use it as a base for mix-ins like chocolate chips, caramel swirls, or fruit.
- Better than store-bought: By preparing it at home, you get full control over the ingredients, ensuring a fresh and high-quality dessert without preservatives.
This recipe is perfect for anyone who loves traditional desserts made with care and attention to flavor. Whether you’re making it for family, guests, or yourself, this vanilla bean ice cream always delivers a refreshing and indulgent treat.
Ingredients Needed
Making homemade vanilla bean ice cream requires only a handful of essential ingredients, but each one plays a key role in creating its creamy texture and deep flavor. Here’s what you’ll need:
- 2 cups heavy cream – Provides richness and a smooth, velvety consistency.
- 1 cup whole milk – Balances the cream to prevent the ice cream from being too heavy.
- ¾ cup granulated sugar – Sweetens the custard base and helps create a softer texture.
- 4 large egg yolks – Adds body, creaminess, and helps the mixture thicken into a custard.
- 1 vanilla bean, split and seeds scraped – Delivers authentic flavor. If unavailable, substitute with 2 teaspoons pure vanilla extract.
- Pinch of salt – Enhances flavor and balances sweetness.
These simple ingredients come together to create a custard-based ice cream that is smooth, flavorful, and perfectly scoopable.
Step-by-Step Instructions
Follow these steps carefully to achieve the best homemade vanilla bean ice cream:
1. Heat the Cream Mixture
- In a medium saucepan, combine the heavy cream, whole milk, half of the sugar, and the scraped vanilla bean seeds along with the pod.
- Warm over medium heat, stirring occasionally, until the mixture is hot but not boiling.
- Once heated, remove from the stove and let it rest for about 10 minutes to infuse the vanilla flavor.
2. Whisk the Egg Yolks
- In a separate mixing bowl, whisk the egg yolks with the remaining sugar until the mixture turns pale and slightly thickened.
- This step ensures the yolks are ready to combine smoothly with the hot cream mixture.
3. Temper the Yolks
- Slowly add about ½ cup of the warm cream mixture into the egg yolks while whisking constantly.
- Gradually add more warm cream, continuing to whisk. This process prevents the eggs from curdling.
- Once combined, pour the egg mixture back into the saucepan with the rest of the cream.
4. Cook the Custard
- Place the saucepan over low heat and stir continuously with a wooden spoon or spatula.
- Cook until the custard thickens enough to coat the back of the spoon, which usually takes 5–7 minutes.
- Be careful not to let the mixture boil, as this could cause the eggs to scramble.
5. Strain and Chill
- Remove the saucepan from the heat and pour the custard through a fine-mesh strainer into a clean bowl. This step removes any cooked egg bits and the vanilla pod.
- Cover the surface of the custard directly with plastic wrap to prevent a skin from forming.
- Refrigerate for at least 4 hours or overnight until thoroughly chilled.
6. Churn the Ice Cream
- Once the custard is cold, pour it into your ice cream maker and churn according to the manufacturer’s instructions, typically 20–25 minutes.
- The mixture will thicken and reach a soft-serve consistency.
7. Freeze Until Firm
- Transfer the churned ice cream into an airtight container.
- Freeze for at least 2 hours before serving to allow it to firm up into scoopable ice cream.
Tips & Variations
- No ice cream maker? Freeze the custard in a shallow container. Stir vigorously every 30 minutes for 2–3 hours until creamy.
- Extra flavor boost: Add a splash of bourbon or rum for depth.
- Lighter version: Use half-and-half instead of heavy cream.
Storage Instructions
- Store in an airtight container in the freezer for up to 2 weeks.
- To prevent ice crystals, press a layer of plastic wrap directly onto the surface before sealing.

Homemade Vanilla Bean Ice Cream Recipe
Description
A rich and creamy homemade vanilla bean ice cream made with real vanilla bean for authentic flavor. Perfect on its own or served with your favorite desserts.
Ingredients
Instructions
-
In a medium saucepan, combine heavy cream, whole milk, half of the sugar, and the scraped vanilla bean seeds along with the pod. Warm over medium heat until hot but not boiling. Remove from heat and let steep for 10 minutes.
-
In a separate bowl, whisk egg yolks with the remaining sugar until pale and slightly thickened.
-
Slowly add ½ cup of the warm cream mixture into the yolks while whisking constantly. Gradually add more until combined. Pour back into the saucepan.
-
Cook over low heat, stirring constantly, until the custard thickens enough to coat the back of a spoon (5–7 minutes). Do not let it boil.
-
Strain the custard through a fine-mesh sieve into a clean bowl. Discard the vanilla pod. Cover with plastic wrap pressed against the surface and refrigerate for at least 4 hours or overnight.
-
Once chilled, churn the custard in an ice cream maker for 20–25 minutes until it reaches a soft-serve consistency.
-
Transfer to an airtight container and freeze for at least 2 hours before serving.