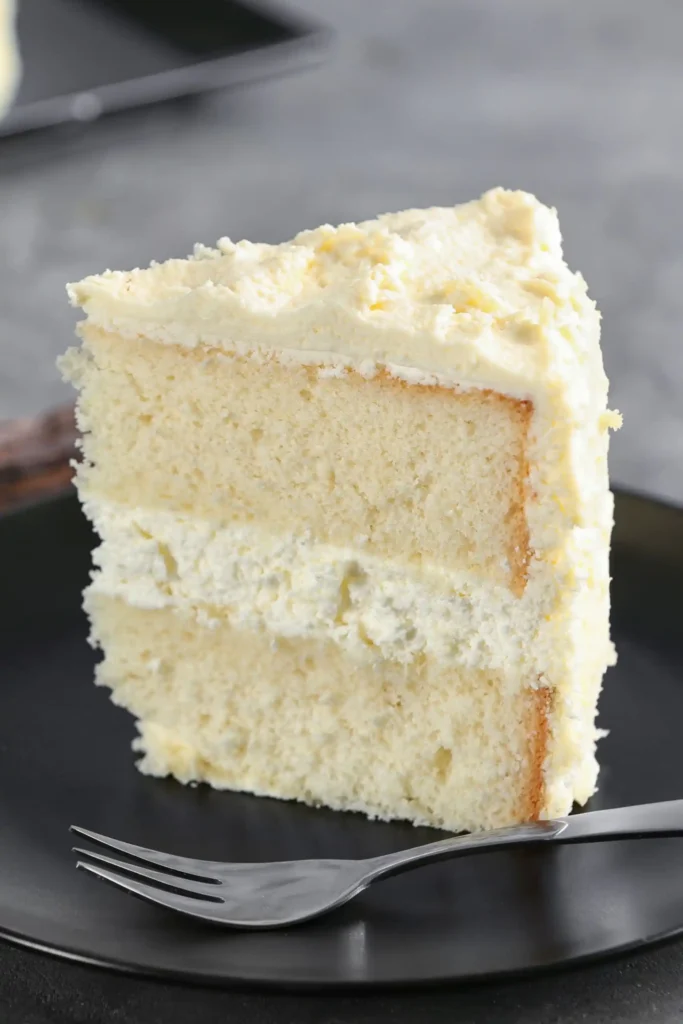
This Classic Vanilla Cake with Cream Filling is a light, moist, and flavorful cake that never goes out of style. It’s made with simple pantry ingredients and finished with a creamy middle layer that adds richness to every bite. The texture is soft yet sturdy enough to hold layers, making it a perfect centerpiece for birthdays, celebrations, or casual gatherings. With its balanced sweetness and smooth vanilla flavor, it pairs beautifully with fresh fruit, chocolate drizzle, or a simple dusting of powdered sugar.
Whether you serve it plain or decorate it with frosting, this cake delivers consistent results and a taste that appeals to all ages. It’s a versatile recipe you can rely on whenever you want a homemade dessert that looks elegant and tastes amazing.
Why You’ll Love This Vanilla Cake
- Soft and fluffy texture: The combination of butter, eggs, and milk creates a tender crumb that stays moist.
- Creamy middle layer: A whipped cream filling adds a luscious contrast to the sponge, making it more indulgent.
- Simple ingredients: You only need basic pantry staples, which means no special trips to the store.
- Customizable: Easily pair with fresh fruit, jam, or different frostings to match any occasion.
- Great for all skill levels: Clear steps make it achievable for beginners while still impressive enough for experienced bakers.
- Perfect for any celebration: Works beautifully as a birthday cake, holiday dessert, or casual treat.
Ingredients Needed
To make this Classic Vanilla Cake with Cream Filling, you’ll need simple baking staples along with a light cream filling. Below is the full breakdown:
For the Vanilla Cake:
- 2 ½ cups all-purpose flour – Provides the structure and stability of the cake.
- 2 ½ teaspoons baking powder – Ensures the cake rises evenly and stays fluffy.
- ½ teaspoon salt – Balances the sweetness and enhances flavor.
- ½ cup unsalted butter, softened – Adds richness and moisture while giving the cake a soft crumb.
- 1 ½ cups granulated sugar – Sweetens the batter and helps with tenderness.
- 3 large eggs – Give structure, bind ingredients, and add richness.
- 1 tablespoon vanilla extract – Infuses the cake with a warm, fragrant flavor.
- 1 cup whole milk – Keeps the cake moist and light, while helping to blend the ingredients smoothly.
For the Cream Filling:
- 1 cup heavy cream (chilled) – Whips up into a fluffy filling for the middle layer.
- 2 tablespoons powdered sugar – Lightly sweetens the cream without overpowering the cake.
- 1 teaspoon vanilla extract – Complements the cake with extra vanilla flavor.
Optional for Frosting and Decoration:
- Extra whipped cream or buttercream for covering the outside.
- Fresh fruit, chocolate shavings, or sprinkles for garnish if serving for a celebration.
Step-by-Step Instructions
Follow these steps carefully to create a moist vanilla cake with a creamy filling that holds together beautifully:
Step 1: Prepare Your Baking Pans and Oven
- Preheat your oven to 350°F (175°C).
- Grease and flour two 9-inch round cake pans, or line them with parchment paper for easier release.
Step 2: Mix the Dry Ingredients
- In a medium bowl, whisk together the flour, baking powder, and salt.
- Set aside while you prepare the wet ingredients.
Step 3: Cream the Butter and Sugar
- In a large mixing bowl, beat the softened butter and sugar together using a hand mixer or stand mixer on medium speed.
- Continue mixing until the mixture is pale and fluffy, about 3–4 minutes. This step is key to achieving a light cake texture.
Step 4: Add the Eggs and Vanilla
- Add the eggs one at a time, mixing well after each addition so the batter stays smooth.
- Stir in the vanilla extract.
Step 5: Combine Wet and Dry Ingredients
- Reduce the mixer speed to low.
- Add the dry mixture in three parts, alternating with the milk in two parts.
- Begin and end with the dry mixture.
- Mix until just combined, avoiding overmixing which can make the cake dense.
Step 6: Bake the Cake Layers
- Divide the batter evenly between the two prepared pans.
- Smooth the tops with a spatula for even baking.
- Bake in the preheated oven for 25–30 minutes, or until a toothpick inserted in the center comes out clean.
Step 7: Cool the Cakes
- Remove the pans from the oven and allow the cakes to cool for 10 minutes.
- Turn them out onto a wire rack and let them cool completely before adding the cream filling.
Step 8: Prepare the Cream Filling
- In a chilled bowl, whip the heavy cream with powdered sugar and vanilla extract using a hand mixer or stand mixer.
- Beat until stiff peaks form, which means the cream holds its shape firmly.
- Keep the whipped cream refrigerated until ready to assemble.
Step 9: Assemble the Cake
- Place one cooled cake layer on a serving plate.
- Spread the whipped cream filling evenly over the top.
- Place the second cake layer on top, pressing gently to secure it.
- If desired, frost the outside with additional whipped cream or buttercream and decorate with fruit or sprinkles.
Step 10: Serve
- Slice and serve immediately for the freshest flavor, or refrigerate until ready to enjoy.
Baking Tips & Variations
- Ensure cakes are completely cool before adding cream filling to prevent melting.
- Swap whipped cream with vanilla buttercream for a richer filling.
- Add fresh berries or jam between layers for extra flavor.
- Can be baked as a sheet cake and layered by slicing horizontally.
Serving Suggestions
- Dust with powdered sugar for a simple finish.
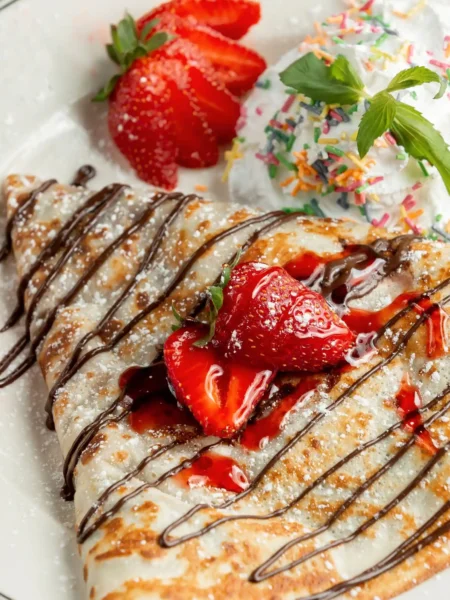
- Serve with fresh fruit or a drizzle of chocolate sauce.
- Pairs well with tea, coffee, or sparkling beverages.
Storage Instructions
- Store in the refrigerator (due to cream filling) for up to 3 days.
- Cover tightly to prevent drying.
- Can freeze unfrosted cake layers separately, then thaw and fill later.

Classic Vanilla Cake with Cream Filling Recipe
Description
A soft and fluffy homemade vanilla cake layered with a light cream filling. This easy recipe uses simple pantry ingredients and creates a moist, flavorful dessert that’s perfect for birthdays, holidays, or any special occasion.
Ingredients
For the Cream Filling:
Optional for Frosting/Decoration:
Instructions
-
Prepare Pans and Oven: Preheat oven to 350°F (175°C). Grease and flour two 9-inch round cake pans or line with parchment paper.
-
Mix Dry Ingredients: In a medium bowl, whisk together flour, baking powder, and salt. Set aside.
-
Cream Butter and Sugar: In a large mixing bowl, beat softened butter and sugar until light and fluffy (3–4 minutes).
-
Add Eggs and Vanilla: Mix in the eggs one at a time, then stir in vanilla extract.
-
Combine Mixtures: Alternate adding the dry mixture and milk to the butter mixture, starting and ending with dry ingredients. Mix until just combined.
-
Bake: Divide batter evenly into prepared pans. Bake for 25–30 minutes, or until a toothpick inserted in the center comes out clean.
-
Cool: Let cakes cool in pans for 10 minutes, then transfer to a wire rack to cool completely.
-
Make Cream Filling: In a chilled bowl, whip heavy cream with powdered sugar and vanilla until stiff peaks form. Keep refrigerated until use.
-
Assemble: Place one cake layer on a serving plate, spread cream filling evenly over the top, and place the second layer on top. Frost the outside with additional cream or buttercream if desired.
-
Serve: Slice and enjoy immediately, or refrigerate until serving.